Jet Kit Install |
If you live anywhere near mountains, then one of the most beneficial things you can do to help performance without buying an EFI ATV, is to install a Jet Kit. The most popular, and definitely the most complete kit, is the DynoJet kit.
I purchased mine at HotSeat Performance for $59. I noticed later that my dealer carried the kit, but they had one for another model. I'm sure your local dealer could get one if you asked.
I've had my quad for a few years, and even though I live at around 250 feet above sea level, I rarely ride at that altitude. I finally got tired of dog performance in the Sierra's and decided to get the kit after seeing Jack's improved performance on his 600 with the kit.
So, a couple Saturday's ago, Jack came over and we had "Tech Saturday" in my garage. Since MacGyver, er I mean Jack had installed it already, I knew it would go more smoothly if he was there. So, to help out anyone else who doesn't have access to Jack, we took some step by step pictures to help you out. The kit is great and has everything you need.
Tools Required (I may miss some)
Short and long Philips and flat head (make sure your Philips has crisp edges!)
10MM socket
7/16 socket
Needlenose pliers
Regular Pliers
Small wrenchs (I forget sizes)
Berryman's B-12 Chemtool Carb Cleaner
Cordless Drill
Note: There are some other, minor steps that will be obvious when disconnecting stuff. We took pictures of the main stuff. Example. We say remove airbox...but you have to disconnect and unbolt a few things to do it. They're obvious!
Click on any of the below images to see it at 800 x 600. |
 |
The first thing you need to do, is remove your seat and airbox cover. |
|
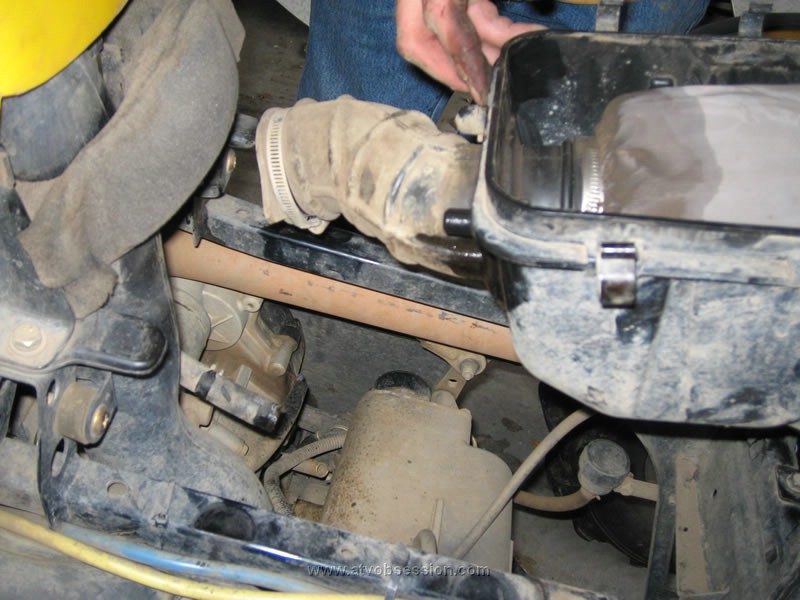 |
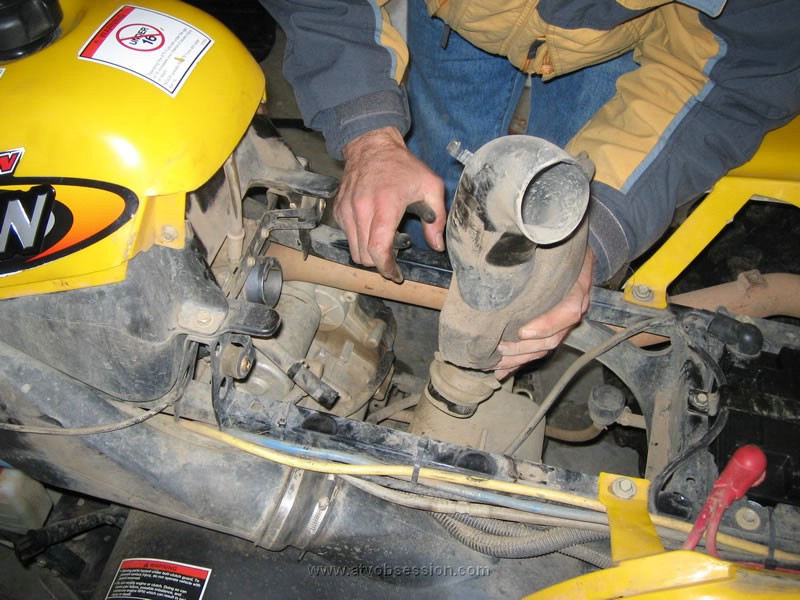
Disconnect the hose and breather. Then unbolt the airbox and remove.
You may as well clean your airfilter at this point, since you have it out. |
|
 |
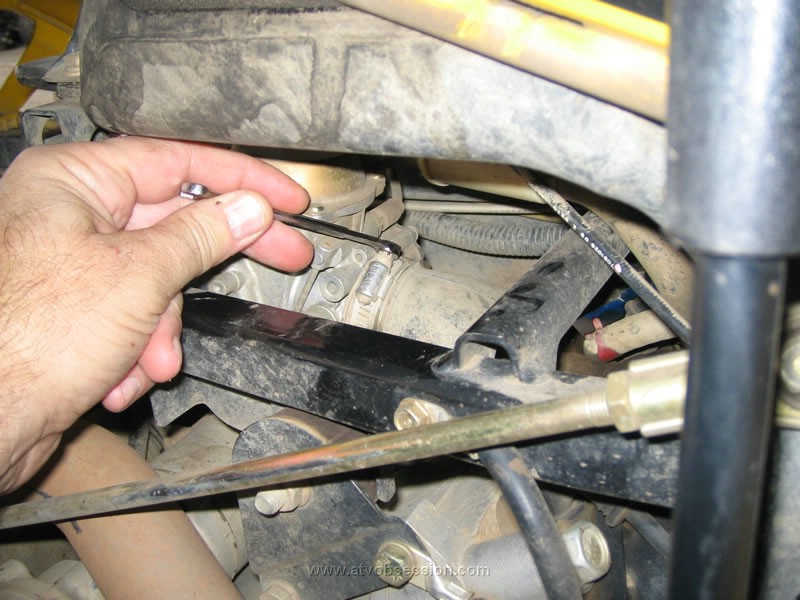
Remove the breather tube for the clutch. |
|
 |
Remove the carb clamp. When you reinstall, position it around the same angle. It's about the only way you'll be able to tighten it. |
|
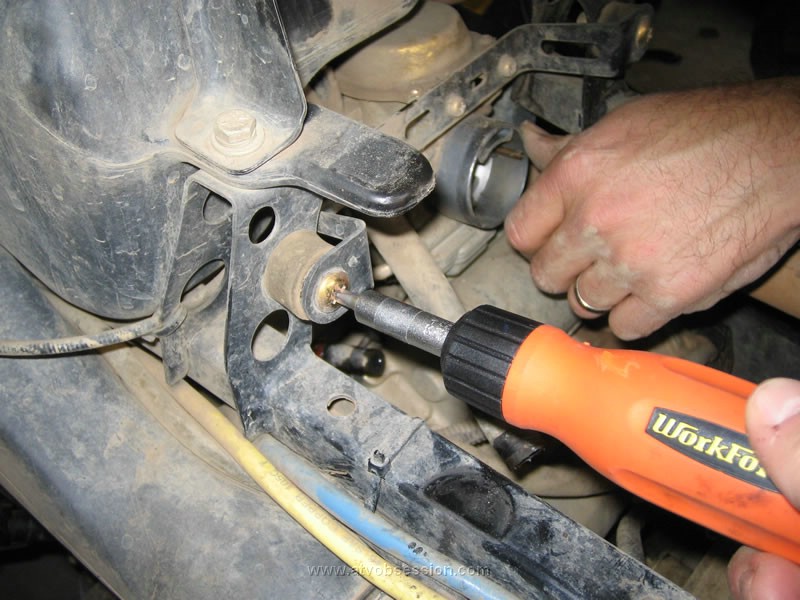 |
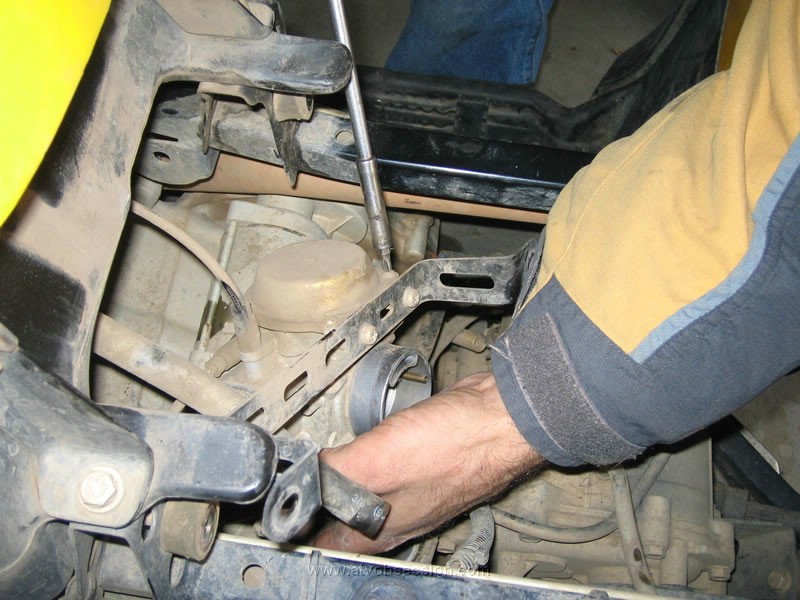
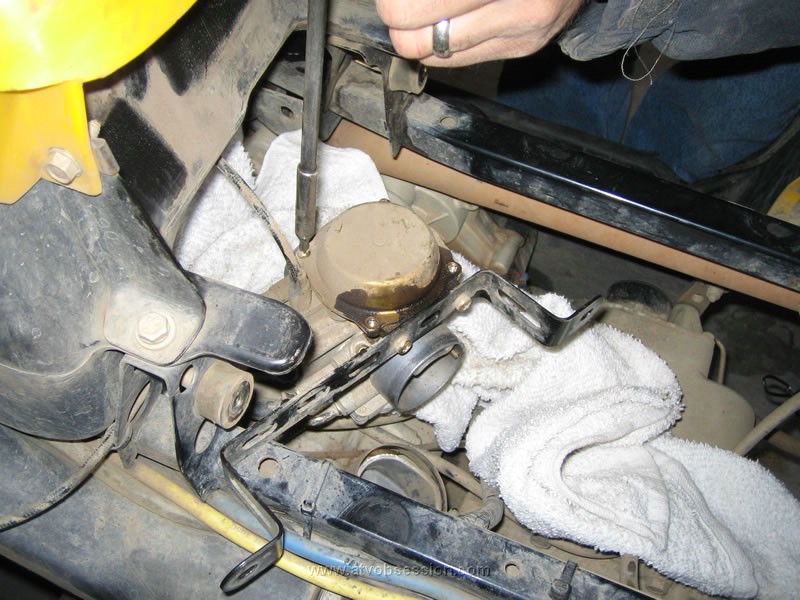
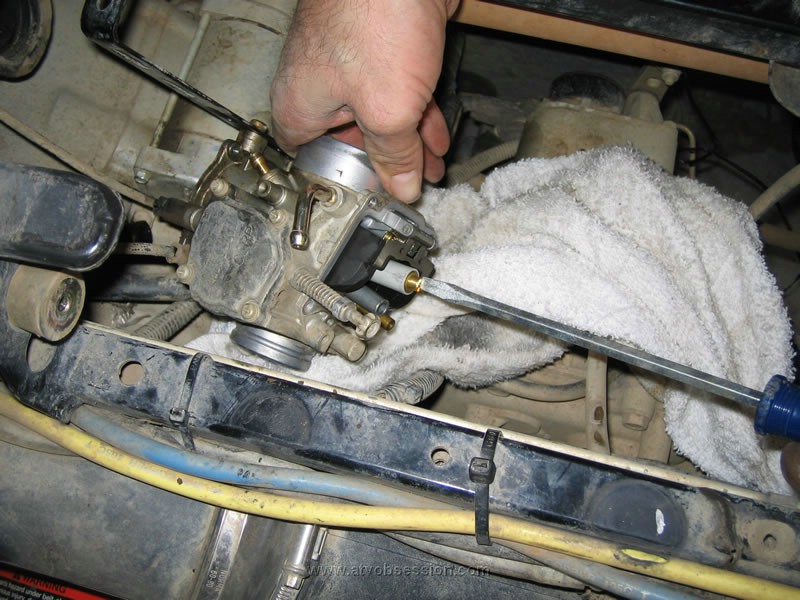
Remove both screws to remove the bracket to extract your carb. |
|
 |
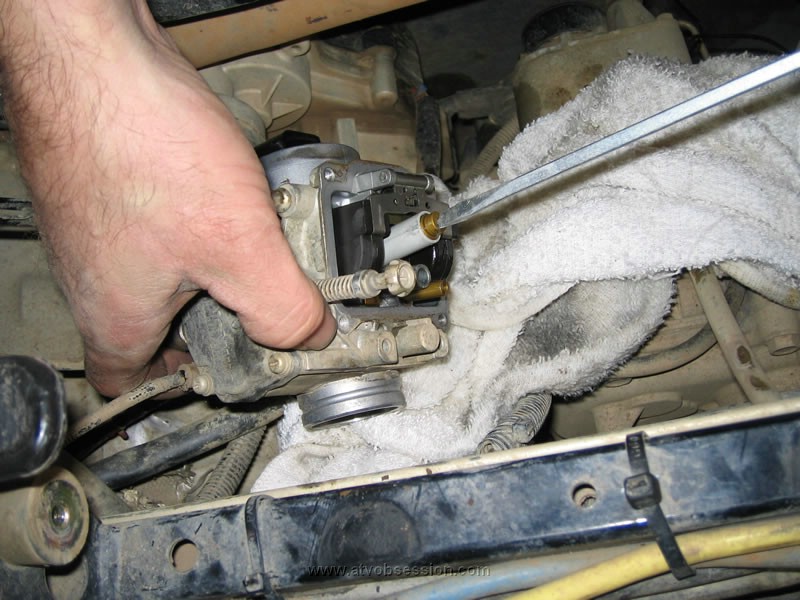
VERY IMPORTANT. Use a crisp edge, med-small Philips. Push VERY Hard and turn slowly to remove the screws on the carb top cover. They will need to be "cracked", to break free. But you must do it carefully, or they will strip.
One of ours did strip. We used a dremel tool and a cutting wheel to make a notch for a Flat Head. We got a Flat head screw driver that fit the notch perfectly, and the screw opened. You will physically hear them snap, when they break free. |
|
 |
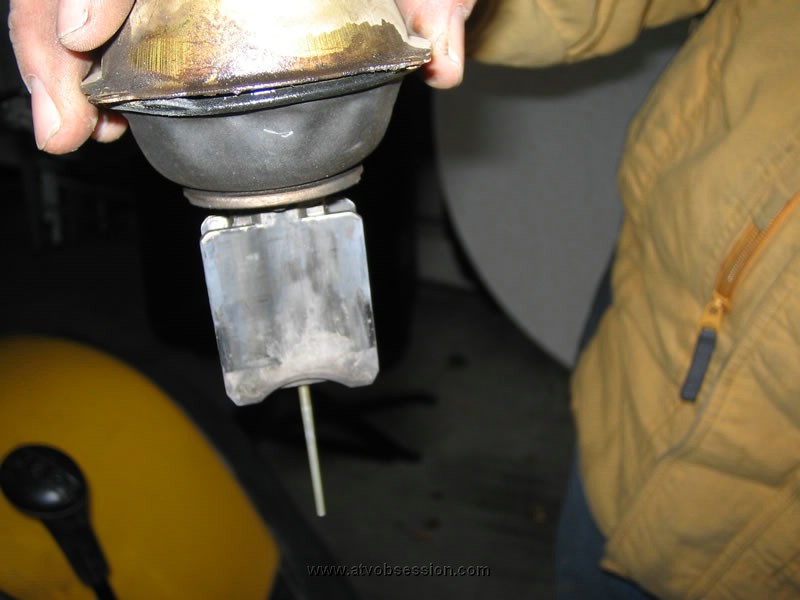
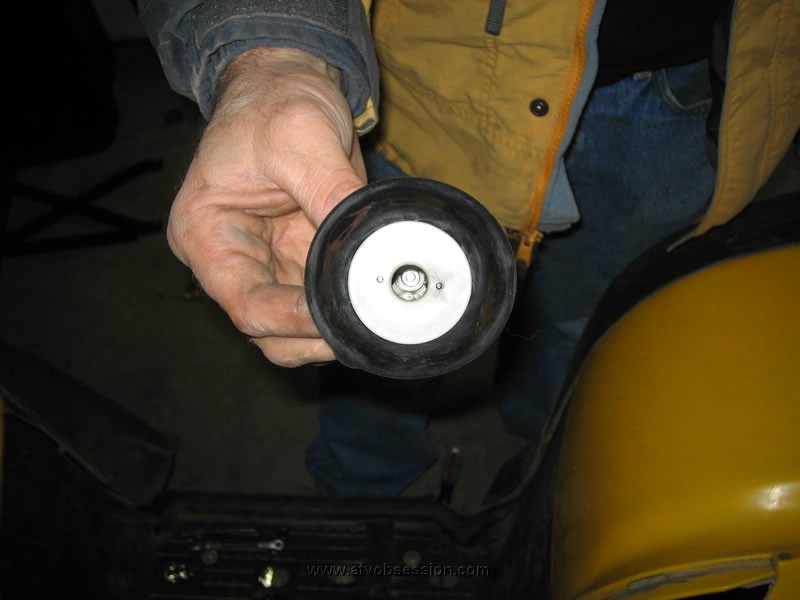
Remove all 4 screws to expose the slide diaphram. |
|
 |
Check how nasty black mine it is from grease and dirt. It's a miracle it moved at all. |
|
 |
After 3 years, it was in pretty bad shape. Carb cleaner!
Now is also an excellent time to clean your idle screw. Mine was frozen solid. I removed the idle screw and cleaned it and the threads thoroughly. I then added a tiny bit of grease to keep the threads moving. What a difference. I can actually reach in with my hand in and move it with my fingers. |
|
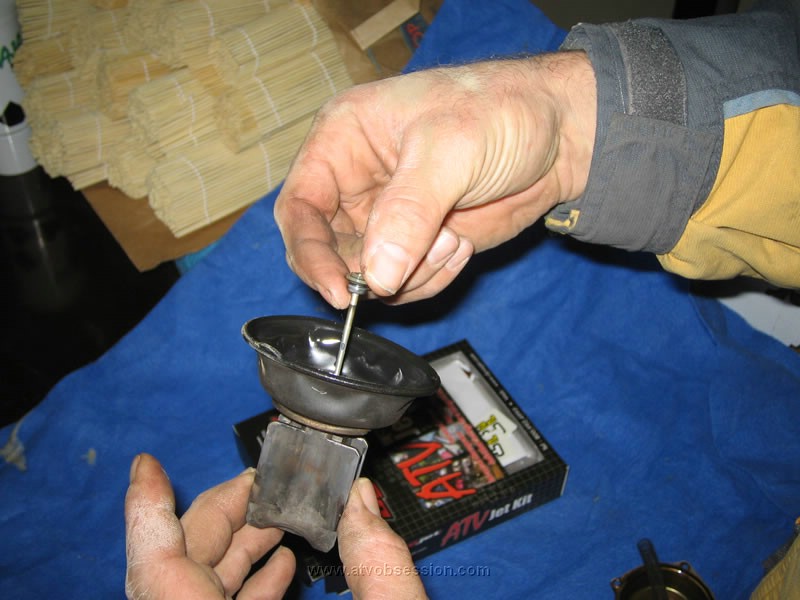 |
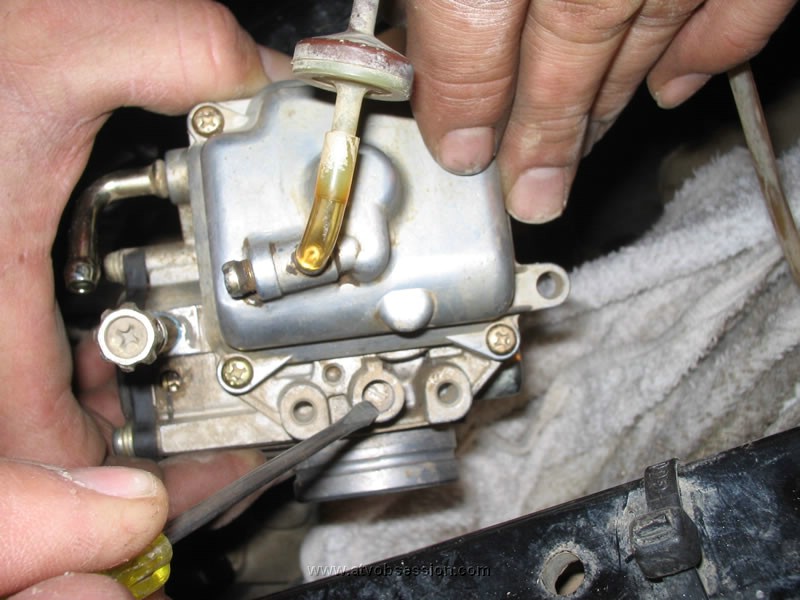
Remove the stock needle. The DynoJet kit has a new one. |
|
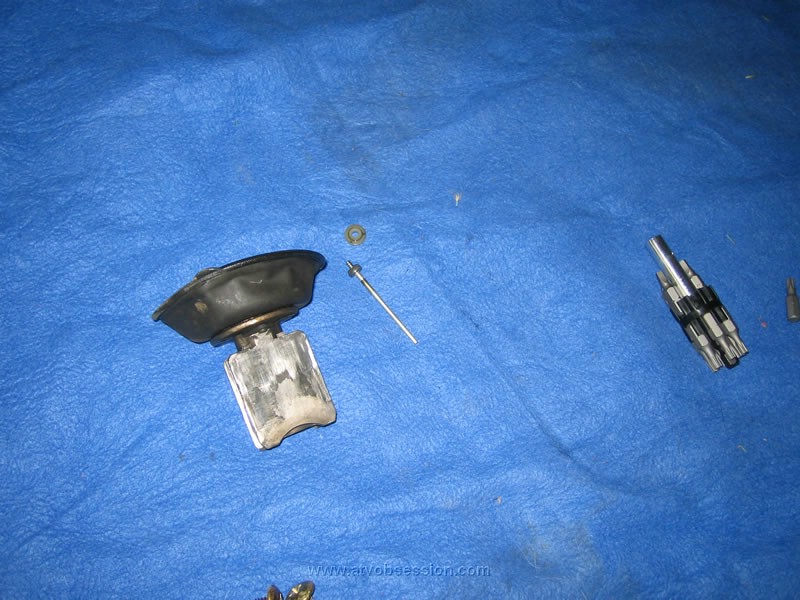 |
Make sure you layout all the parts on a smooth clean surface. Many of the parts, like the clips are TINY! |
|
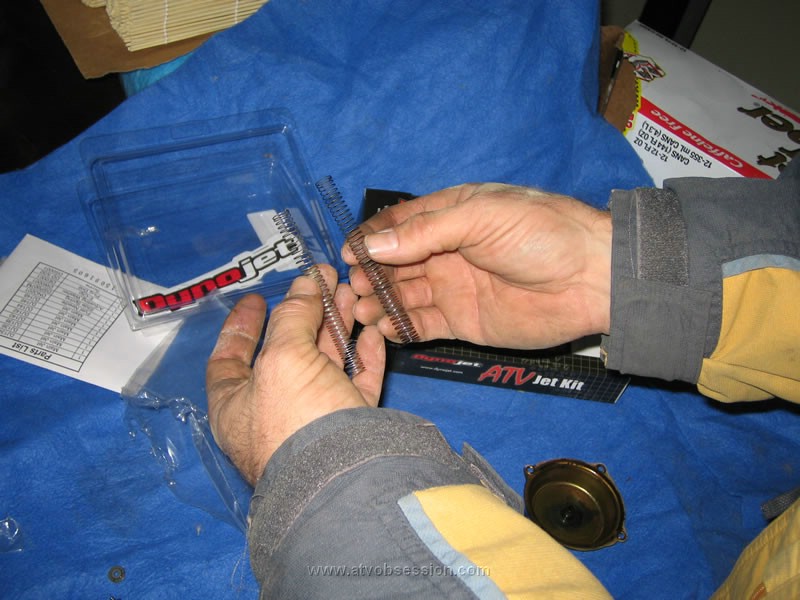 |
DynoJet will provide a new spring. The new, shorter, stronger spring is on the left and the old one is on the right. |
|
 |
The kit contains a new needle with 3 clip settings.
0 - 3000 ft
3000 - 6000 ft
6000 - 9000 ft
|
|
 |
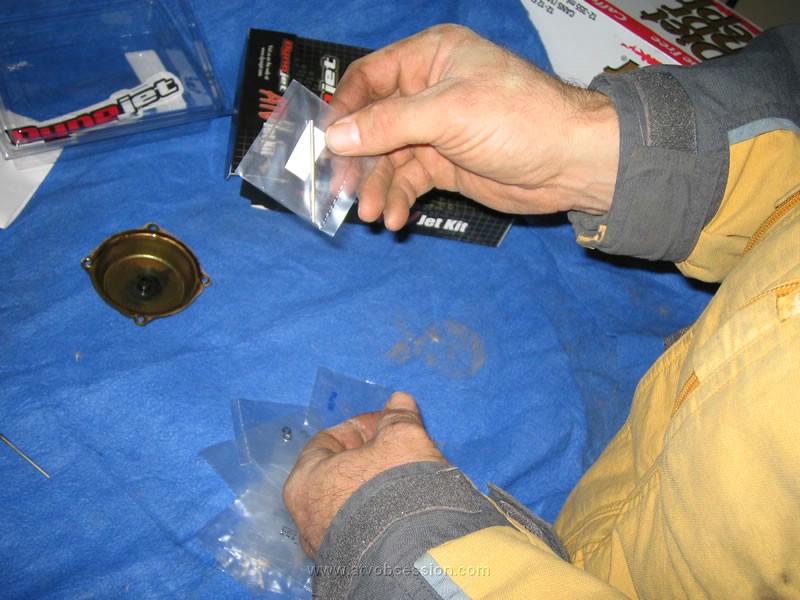
You will also replace a washer and E clip. |
|
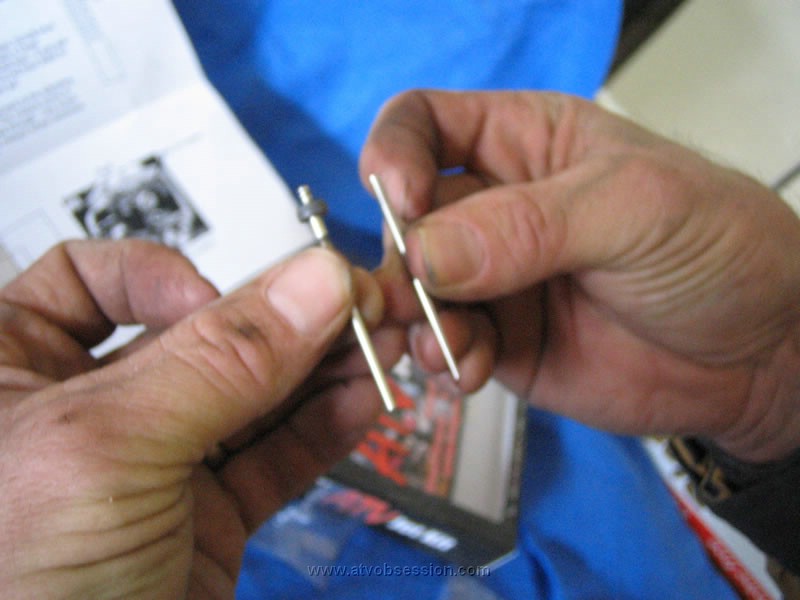 |
A tad blurry, but you can see the needle on the left is fatter, less pointy and longer than the new needle on the right. |
|
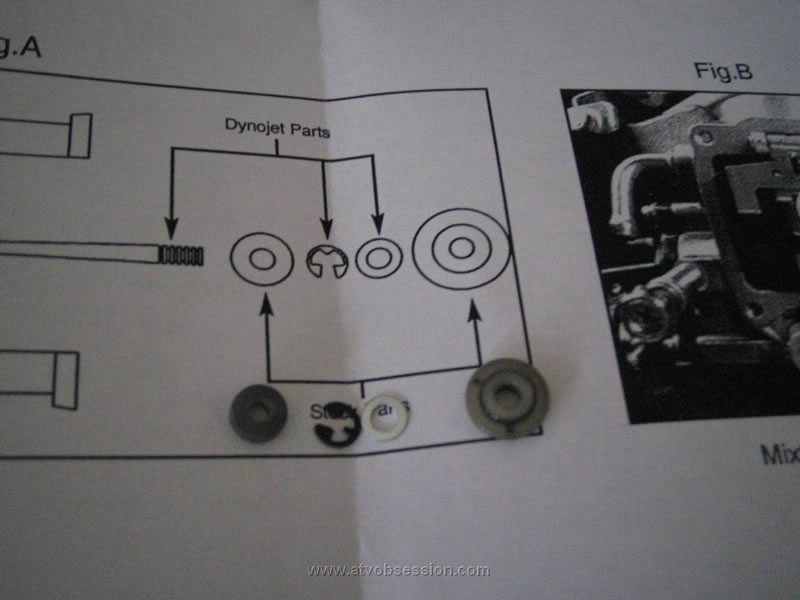 |
The diagram included with the kit shows you to keep the 2 stock outside pieces and use the DynoJet washer and E clip. |
|
 |
Remove the lower float cover to expose the main jet. |
|
 |
Remove the main jet. |
|
 |
Install the new Jet. As mentioned before, there are 3 Jets.
0 - 3000 feet
3000 - 6000 feet
6000 - 9000 feet
The selection is up to you. I chose the 3000 - 6000 ft jet as a compromise. I do much of my riding just about 6000 feet, however many rides are at the 3500 - 5500 range. |
|
 |
Screw in the jet. |
|
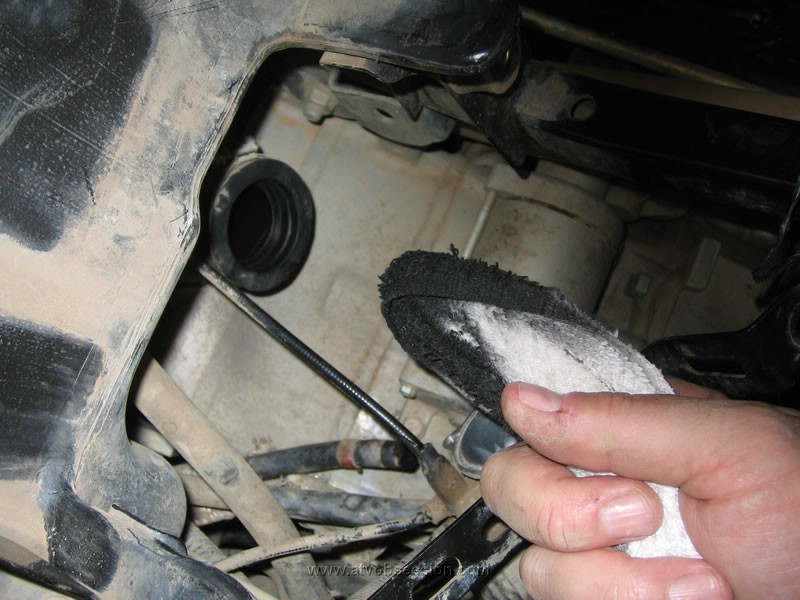 |
Don't forget to clean many of the openings while you are there. As you can see, I turned the white rag into a black rag. Whip out the Berryman's B-12 Chemtool Carb Cleaner! |
|
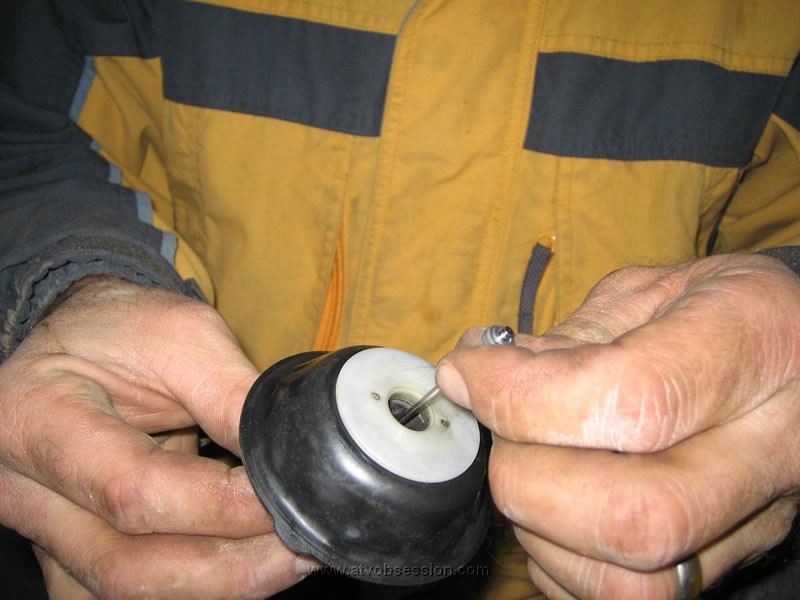 |
The new needle is inserted into the slide. On top of the needle, put the E clip on the groove that is for your altitude. |
|
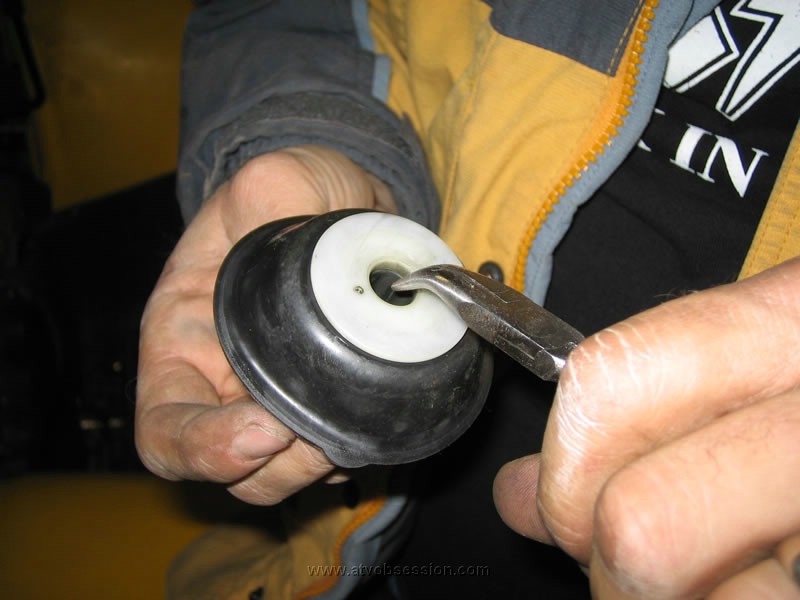 |
Use a pair of needlenose pliers, to drop / guide the needle into the hole. |
|
 |
Once in the hole, the needle will slide down. |
|
 |
Carefully, drop the stock nylon washer |
|
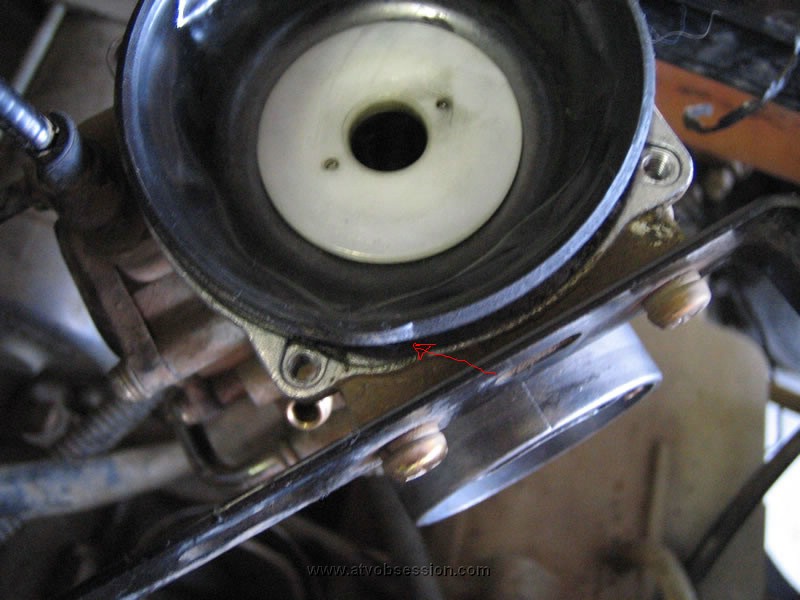 |
When re-installing the slide, notice to line up the rubber diaphram corectly. There is a small groove to help align it where I put the red arrow. |
|
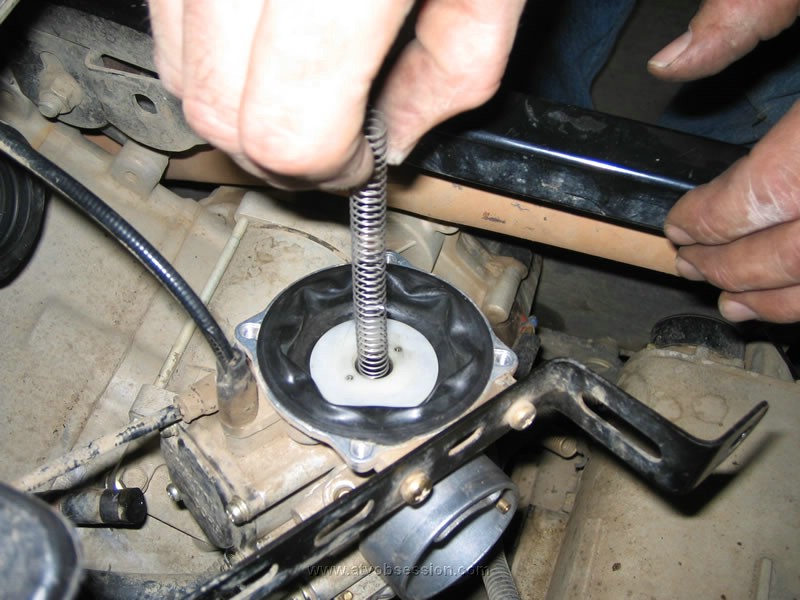 |
Drop in the new spring and install the cover. |
|
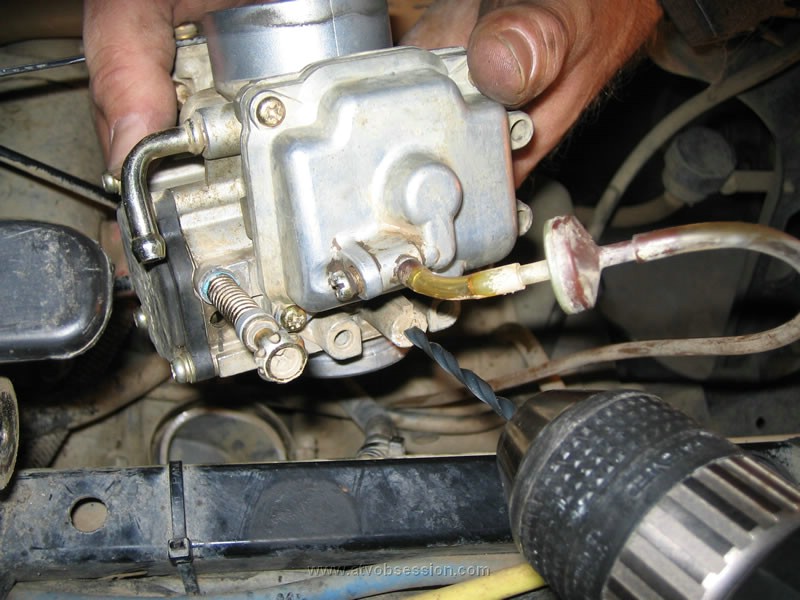 |
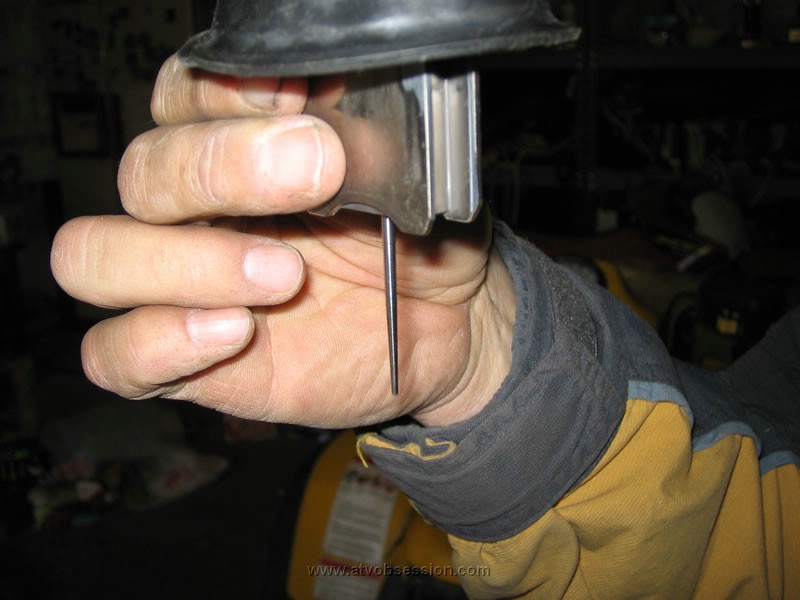
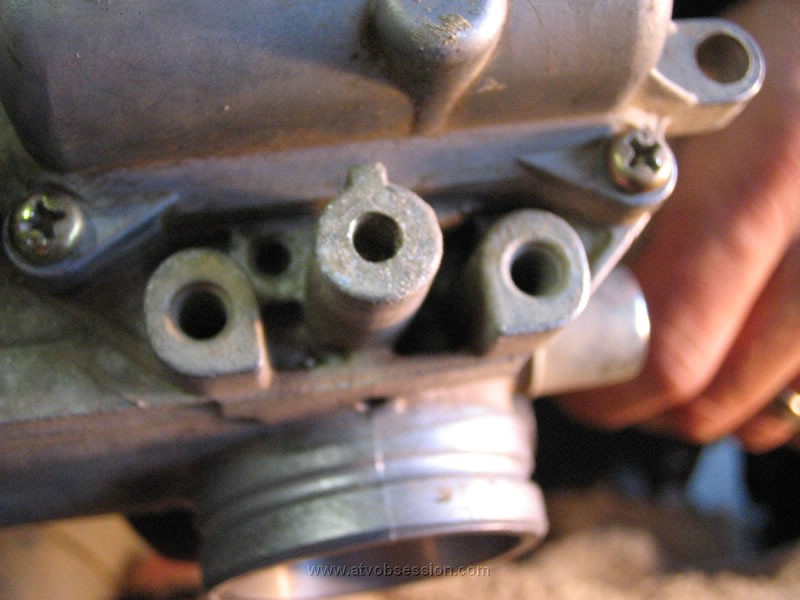
One thing Polaris does, is install a plug over the air/fuel mixture screw. You can't get to it, without removing the plug.
DynoJet includes a drill bit to drill a hole. Don't drill too vigorously, or you'll drill your screw head inside. |
|
 |
Once you've drilled out the hole, use the screw that DynoJet provides, and screw it into the hole you just created. |
|
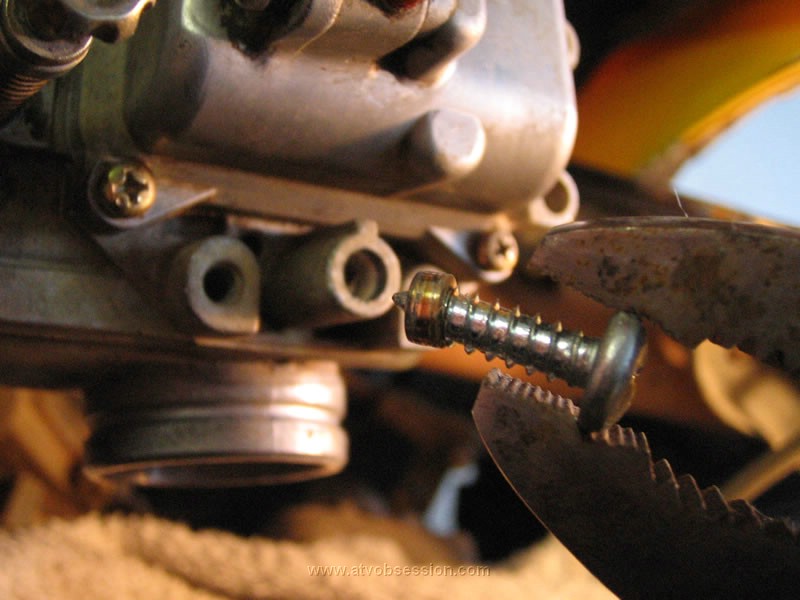 |
Grab a pair of pliers and pull the plug out. |
|
 |
Now you can get to the screw. Tighten the screw, then read the instructions to find out how many turns you'll need to loosen the mixture screw. |
|
 |
Use a Sharpie, to mark the starting point of the screw. Then turn accordingly. For our altitude, it was 1 full turn. |
|
Congratulations. It's now time to put it all back together. You're done.
Once you have it all together...fire it up! Even at 250 ft, mine ran with much better throttle response than it did before. Of course, some of that can be attributed to it being clean! I'm sure once I get my quad up to target altitude, that it will run even better.
Update: I ran at 5800-6300 feet on February 19, 2006. It was a HUGE improvement. Now granted, I had cleaned my carb, so some improvement was from the cleaning. However, besides better throttle response, it definitely had more power, with no bogging down.. I did have to adjust the idle, as it was too low when I got up to 5800 feet. |
| |
| |
| |